 Semiahmoo
 Building New Near Wiser Lake: What the Climate Actually Asks of Your Windows
If you're framing a new home in the Wiser Lake area, you're building in one of the trickiest window climates in Whatcom County. This isn't the dry heat of eastern Washington or the mild coastal fog of somewhere further south — it's a mix. Wind off the Semiahmoo Peninsula and the Strait carries salt-tinged moisture inland, tree cover around the lake keeps humidity high year-round, and the region gets long stretches of driving, wind-blown rain rather than gentle drizzle. Add a moss season that can run eight months out of twelve, and you have an environment that will find every weak seam in a window install within a couple of winters.
New construction is actually the best time to get this right. Unlike a retrofit, you're not fighting existing siding, old flashing, or a wall that's already been rained on for twenty years. You get one clean shot to build the water management right the first time — around the window, not just at it. Get it wrong at this stage, and you're baking a callback into the walls before the drywall even goes up.
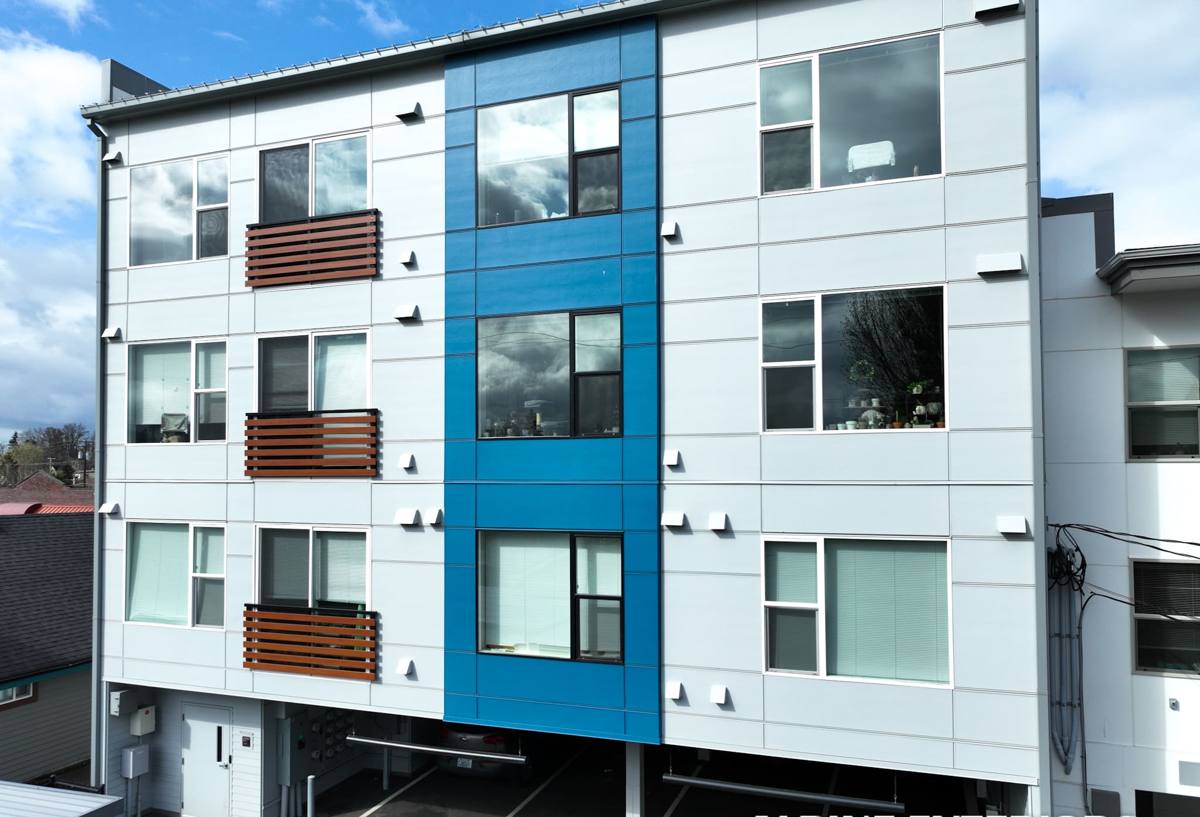
What Correct New-Construction Window Installation Actually Involves
A lot of new-construction window work in this region gets treated as a carpentry task — set the unit, shim it plumb, nail the flange, move on. That's not enough here. Correct installation is really a water-management system with a window in the middle of it. The window itself is only as good as the flashing, sealant, and drainage plane built around it.
The Non-Negotiables
- Sill pan flashing under every window opening, sloped to drain outward — never flat, never relying on caulk alone
- Weather-resistive barrier integrated with the flashing in the correct shingle-lap order (bottom to top, back to front)
- Head flashing with a drip edge that actually sheds water past the wall plane, not into it
- Backer rod and compatible sealant at the right joints — not sealant everywhere, which traps water rather than releasing it
- Fasteners and shims that won't corrode or compress over time in a damp wall cavity
Skip any one of these and the window can still look perfect from the curb for a year or two. The failures in this climate are almost always hidden — rot inside the framing, staining on interior sills, or a slow mold problem behind the drywall — long before there's an obvious sign from outside.
Flashing, Sequencing, and Water Management: The Part Nobody Sees
The single biggest driver of long-term window performance in a wet, wind-driven climate is sequencing — the order in which flashing, house wrap, and window are installed relative to each other. Water has to have a continuous path down and out, with no step where it's directed sideways into the wall.
On a new build, we install the sill pan flashing before the window ever goes in, tape the jamb flashing over the sides of the pan (not under it), and lap the head flashing last so it sheds onto the water-resistive barrier above rather than behind it. Every layer overlaps the one below it, the same way roof shingles do. It sounds simple written out, but it's the step most commonly rushed on production-schedule builds, and it's the step that determines whether a window lasts 10 years or 30 in this kind of weather.
Why This Matters More Near Wiser Lake Specifically
Homes tucked near tree cover and standing water hold humidity longer after a storm than open, exposed lots. That means any water that does get behind a window has less chance to dry out between rain events. A flashing detail that would eventually forgive itself in a drier part of the state doesn't get that grace period here — moisture that gets in stays in, and that's exactly the condition wood rot and mold need.
Window Types and Frame Materials: What Holds Up Here
We don't push one brand or one material as universally "best" — the right choice depends on the home's design, budget, and exposure. What we will say plainly: some materials carry more maintenance burden in this climate than others, and that's worth knowing before you spec a whole house full of windows.
| Frame Material | How It Handles This Climate | Maintenance Reality |
|---|---|---|
| Vinyl | Good moisture resistance, won't rot or corrode | Low maintenance; quality varies a lot by manufacturer |
| Fiberglass | Very stable in temperature swings and damp conditions; holds paint well | Low maintenance; higher upfront cost |
| Clad wood (wood interior, metal/composite exterior) | Excellent look, but the exterior cladding and every seal around it has to be flawless or moisture gets into the wood core | Higher maintenance sensitivity; installation quality matters more than with vinyl or fiberglass |
| Aluminum | Strong but conducts heat and cold, and can corrode faster near salt-influenced air without a good finish | Moderate; finish quality matters |
For most new builds in this area, we lean toward vinyl or fiberglass for windows that face prevailing weather, and reserve wood-clad units for protected elevations or covered porches where the exposure is lower. That's a professional judgment call based on installation risk and long-term moisture behavior — not a knock on any manufacturer.
Glass Packages Worth Discussing
Double-pane, low-E, argon-filled glass is the practical standard for new construction in Whatcom County — it manages both the cold, wet winters and the condensation that comes from a tight, humid envelope. Triple-pane adds cost and weight for a smaller efficiency gain here than it would in a colder inland climate, so we'll talk through whether it's worth it for your specific design rather than upselling it by default.
Our Process, Start to Finish
1. Pre-Install Walkthrough
Before a single window arrives on site, we review the rough openings against the actual window schedule, check that openings are square and correctly sized, and flag any framing issues while they're still cheap to fix.
2. Flashing and Sill Pan Installation
Sill pans go in first, sloped and sealed, before the window is set. This is the step that gets skipped when a crew is behind schedule — we don't skip it.
3. Window Set and Fastening
Each unit is set plumb, level, and square, shimmed at the correct load points, and fastened per the manufacturer's specification. Over-shimming or off-spec fastening is a common cause of warranty denial later.
4. Head Flashing and WRB Integration
Head flashing laps correctly into the weather-resistive barrier so the whole wall assembly drains as one system, not window-by-window.
5. Interior and Exterior Seal
Low-expansion foam or backer rod and sealant at the interior gap for air sealing, and a proper exterior sealant joint that's designed to let any incidental moisture back out rather than trap it in.
6. Final Inspection
We check operation, seal continuity, and squareness before the siding crew ever covers the opening. Once siding goes on, fixing a flashing mistake gets expensive fast — we'd rather catch it now.
Why a Crew That Already Works Wiser Lake and the Semiahmoo Area Matters
Window installation isn't regionally exotic — the basic physics of flashing and drainage is the same everywhere. What changes by region is how much margin for error the local weather gives you, and how well a crew has calibrated their sequencing, sealant choices, and material picks to that margin.
A crew that works this specific part of Whatcom County knows how long moss season really runs here, how wind off the water drives rain sideways into wall assemblies that would stay dry in a more sheltered lot, and which small shortcuts simply don't survive a full winter this close to the Strait. That's not a brand promise — it's the practical benefit of having actually stood on enough roofs and scaffolding in this weather to know what fails and why.
It also matters for scheduling. Builds in this area run on a tighter dry-window calendar than drier parts of the state — framing, house wrap, and window installation often need to happen in a real gap between storm systems. A crew that's used to that rhythm plans around it instead of fighting it.
Cost Factors on a New-Construction Window Job
Every new build is different, and we'll always give you a written number after walking the plans and the site — but these are the honest variables that move a bid up or down:
| Factor | Effect on Cost |
|---|---|
| Number and size of openings | Bigger driver than most people expect — large picture windows and sliders cost more per unit than standard operable sizes |
| Frame material chosen | Vinyl is typically the most economical; fiberglass and clad wood run higher |
| Glass package (double vs. triple pane, special coatings) | Adds cost per unit; worth weighing against actual exposure and energy goals |
| Elevation and access | Second-story and hard-to-access openings take more labor and scaffolding/lift time |
| Exposure of the specific wall | Walls facing prevailing wind and rain may warrant extra flashing detail or upgraded sealant systems |
| Timing with other trades | Coordinating tightly with framers and siding crews avoids rework and protects the schedule |
Pre-Drywall Checklist for New Builds
If you're a homeowner or builder overseeing the job yourself, here's what's worth confirming before the walls get closed in:
- Sill pan flashing is present and sloped outward under every window, not just caulked flat
- Flashing tape laps in the correct order — sill, then jambs, then head — with no reverse laps
- Weather-resistive barrier is integrated with the window flashing, not just stapled around it
- Every window operates smoothly and closes/locks without binding before siding covers the opening
- Shims are placed at manufacturer-specified load points, not randomly packed in
- Interior air seal (foam or backer rod and sealant) is continuous with no gaps
- Exterior sealant joints are tooled properly and use a sealant rated for this climate's temperature swings
- A walkthrough photo record exists for every opening before it's covered — useful if any issue surfaces later
Common Mistakes We Watch For
Most window problems we get called to diagnose in newer homes trace back to a handful of repeat issues: sealant used as a substitute for proper flashing, head flashing that laps the wrong direction, over-driven fasteners that bow the frame out of square, and window schedules that get value-engineered down to a material that wasn't really suited to that wall's exposure. None of these show up on a final walkthrough — they show up two or three winters later as a stain, a draft, or a soft spot in the trim.
On a new build, catching these before the siding goes on costs almost nothing. Catching them five years after move-in means opening up finished walls. That's the real argument for getting the installation detail right the first time, not the warranty paperwork.
If you're planning new-construction windows for a home in the Wiser Lake or greater Semiahmoo area, we're happy to walk your plans and give you a straightforward, no-pressure estimate — just fill out the form below.