 Semiahmoo
 Windows Built for Marietta's Exposure
Marietta sits along the Whatcom County waterfront near Semiahmoo and Blaine, close enough to Semiahmoo Bay that homes here take on the same weather load as the rest of this stretch of coastline — salt-laden air, wind-driven rain that doesn't fall straight down, and a moss and mildew season that runs most of the year. Windows are one of the first places that exposure shows up as a problem, because a window opening is also a hole in the wall assembly, and every hole needs to be sealed and flashed correctly or water will eventually find its way through it.
We install windows for homes in and around Marietta with that reality as the starting point, not an afterthought. A window that performs well in a sheltered inland neighborhood can still fail here if it's installed without accounting for how hard this local climate pushes moisture into wall assemblies.
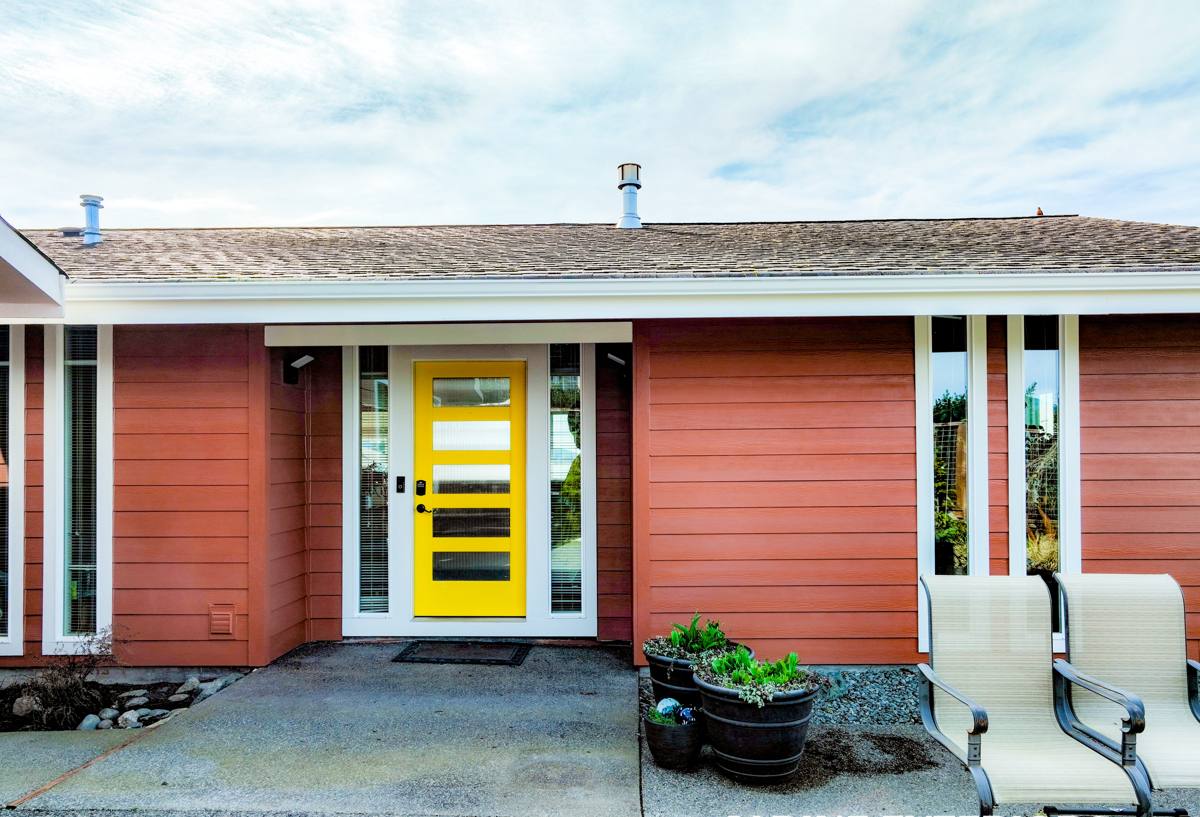
What This Climate Does to Windows Specifically
Wind-Driven Rain at the Window Opening
Rain near the Semiahmoo waterfront rarely falls straight down. Open wind off the water pushes it sideways into wall surfaces, and window openings are one of the most vulnerable spots on the whole exterior because they interrupt the siding, the weather-resistive barrier, and the framing all at once. A window installed with proper flashing sheds that water back out. A window installed without it will let water track behind the frame and into the wall cavity, often for a long time before it shows up as a stain or soft spot inside.
Salt Air and Hardware Corrosion
Salt in the air accelerates corrosion in window hardware, screws, and lower-grade flashing metals faster than it would a few miles inland. Fasteners and flashing components that aren't rated for corrosive exposure can start failing years before the window itself would otherwise need attention, which is why hardware selection matters as much as the window unit on a Marietta property.
Moss, Mildew, and Sill Moisture
Whatcom County's long wet season keeps humidity high for much of the year, and window sills and lower sashes are common spots for moisture to sit if drainage isn't detailed correctly. Shaded, north-facing windows on lots with mature trees or tight spacing tend to show mildew and slow wood or trim decay first, especially around older, less efficient units.
Temperature Swings and Condensation
Marine climates like this one don't see extreme heat, but the combination of cool nights, high humidity, and older single-pane or poorly sealed windows produces condensation on interior glass that can damage sills and surrounding trim over time. A properly sealed, correctly glazed replacement window reduces that condensation load significantly compared to an aging original window.
What Correct Window Installation Actually Involves
The window unit itself is only part of what determines how it performs. In our experience, most window failures we get called out to fix trace back to installation shortcuts, not a bad product. A correct installation includes:
- Proper rough opening prep: squaring and sizing the opening correctly before the window ever goes in, including checking the sill for existing rot or moisture damage
- Weather-resistive barrier integration: the window's flashing has to tie into the existing house wrap or building paper in the correct shingle-lap order, not just get caulked over it
- Sill pan flashing: a sloped or back-dammed sill pan that directs any water that does get past the window back outside instead of letting it pool at the sill
- Head flashing: a drip cap or head flashing above the window that sheds water around the top corners, which is one of the most common leak points on wind-exposed walls
- Corrosion-resistant fasteners: hardware rated for coastal, salt-air exposure rather than standard interior-grade fasteners
- Correct shimming and insulation: the window shimmed level and plumb, with low-expansion foam or backer rod and sealant filling the gap without bowing the frame
- Interior and exterior sealant details: sealant applied at the right joints on both sides, leaving the bottom of the exterior trim unsealed so any incidental moisture can still drain out
Skip any one of those steps and the window can still look fine for a year or two before a problem shows up. That lag is part of why window installation shortcuts are so common — they don't get caught right away.
Choosing the Right Window for a Marietta Home
There isn't one single "correct" window brand or frame material for every home, but there are real trade-offs worth understanding before deciding. We walk homeowners through these honestly rather than steering toward whatever happens to be easiest to install.
| Frame Material | Moisture & Salt-Air Behavior | Maintenance | Typical Fit for Marietta |
|---|---|---|---|
| Vinyl | Won't rot or corrode; seams can be a weak point if not installed well | Low | Good value option if installation detailing is done correctly |
| Fiberglass | Very stable in temperature swings and humidity; resists warping | Low | Strong long-term choice for exposed, wind-driven-rain walls |
| Aluminum-clad wood | Wood interior needs the cladding and seals to stay intact to avoid moisture intrusion | Moderate | Works well when budget allows and seals are maintained |
| Bare wood | Absorbs and releases moisture readily; most vulnerable to this climate | High | Requires the most upkeep in salt air and long wet seasons |
Whichever frame material a homeowner chooses, we recommend units with a solid warranty structure, dual- or triple-pane glazing rated for this region's humidity and temperature range, and hardware components rated for coastal exposure. A mid-grade window installed correctly will outperform a premium window installed poorly, every time.
Signs a Marietta Home's Windows Need Attention
- Fogging or condensation between the panes of a double- or triple-pane window, which means the seal has failed
- Soft, discolored, or spongy trim and sill wood around the window frame
- Visible daylight or drafts around the sash even when the window is fully closed and locked
- Difficulty opening, closing, or locking a window that used to operate smoothly
- Paint or finish bubbling and peeling near the frame, often a sign moisture is trapped behind it
- Musty odor or visible mildew on interior sills, especially on shaded or north-facing walls
Any one of these on its own isn't necessarily an emergency, but a home showing two or more of them, especially on the side of the house facing prevailing wind and rain, usually has water actively getting past the window assembly.
How We Approach a Window Installation Project
Assessment
We start by looking at the existing windows and the surrounding wall assembly, not just the glass. That means checking sills, trim, and framing for existing moisture damage before quoting a project, because a rotted sill or compromised sheathing needs to be addressed as part of the job, not discovered halfway through.
Scope and Materials
We put together a clear, written scope covering the window units, flashing and sealant details, and any framing or trim repair the assessment turned up. Homeowners see exactly what's being installed and why before any work starts, including the trade-offs between frame materials if that decision is still open.
Removal and Opening Prep
Old windows come out carefully to avoid damaging the surrounding siding and weather barrier more than necessary. We inspect the rough opening at that point for hidden rot or past water intrusion, since that's often the only chance to catch a problem before it's sealed back up behind a new window.
Flashing and Installation
This is where most of the long-term performance gets decided. We install sill pan flashing, integrate the window flashing into the existing weather-resistive barrier in the correct order, and add head flashing above the unit. Fasteners and hardware are chosen for corrosion resistance given the salt-air exposure this area sees.
Finish and Sealant
Interior and exterior trim goes back on with sealant applied at the joints that need it, while leaving drainage paths open at the bottom of the exterior trim. A window sealed on every single edge with no way for incidental moisture to escape can actually trap water rather than shed it.
Final Walkthrough
We check operation, sealing, and appearance with the homeowner before calling the job finished, and explain anything about the new windows' operation or maintenance that's worth knowing going forward.
A Simple Checklist Before Hiring for Window Installation
- Ask specifically how they detail sill pan and head flashing, not just what window brand they sell
- Confirm current Washington contractor licensing and active liability insurance
- Ask whether they inspect the rough opening for existing moisture damage before installing, and what happens if they find some
- Get a written scope covering flashing and sealant details, not just the window units and price
- Ask about warranty coverage on both the window product and the installation labor separately
Why a Crew That Already Works This Stretch of Coastline Matters
A contractor who regularly installs windows in Marietta and the surrounding Semiahmoo and Blaine waterfront already knows how far sideways this area's rain travels, how quickly salt air corrodes the wrong hardware, and where moss and shade tend to cause the slowest, least obvious moisture problems. That familiarity shows up in decisions a homeowner never sees directly — how the sill pan is shaped, which fastener grade goes in, how much lap the flashing gets at the head of the window — and those are exactly the details that decide whether a window installation holds up for decades or starts leaking within a few wet seasons.
If you're considering new or replacement windows for a home in Marietta, we're glad to walk the exterior with you, look at what the existing windows and wall assembly are actually dealing with, and give you an honest read on what the job needs. Reach out below for a free, no-pressure estimate.