 Semiahmoo
 Why Bellingham and Semiahmoo Homes Take More Punishment Than People Expect
If you live near the water in this part of Whatcom County, your siding is doing more work than siding in most parts of the country. Homes closer to Semiahmoo Bay, Drayton Harbor, and the Strait of Georgia deal with salt-laden air that accelerates corrosion on fasteners, trim, and any material that isn't built to handle it. Add in the driving rain that comes sideways off the water during winter storms, and you've got moisture finding every seam, lap, and penetration in a wall system that isn't detailed correctly.
Then there's the moss. Bellingham's tree cover, marine humidity, and long stretches of overcast, damp weather create ideal conditions for moss and algae to colonize any siding surface that stays wet longer than it should — especially on north-facing walls and anything shaded by fir or cedar. Moss isn't just cosmetic. It holds moisture against the surface, and over years that moisture works its way into seams, fastener holes, and butt joints.
None of this means siding is a losing battle here. It means the installation has to account for these conditions from the start — the material, the water management behind it, and the workmanship all have to be right, not just "good enough" for a drier climate.
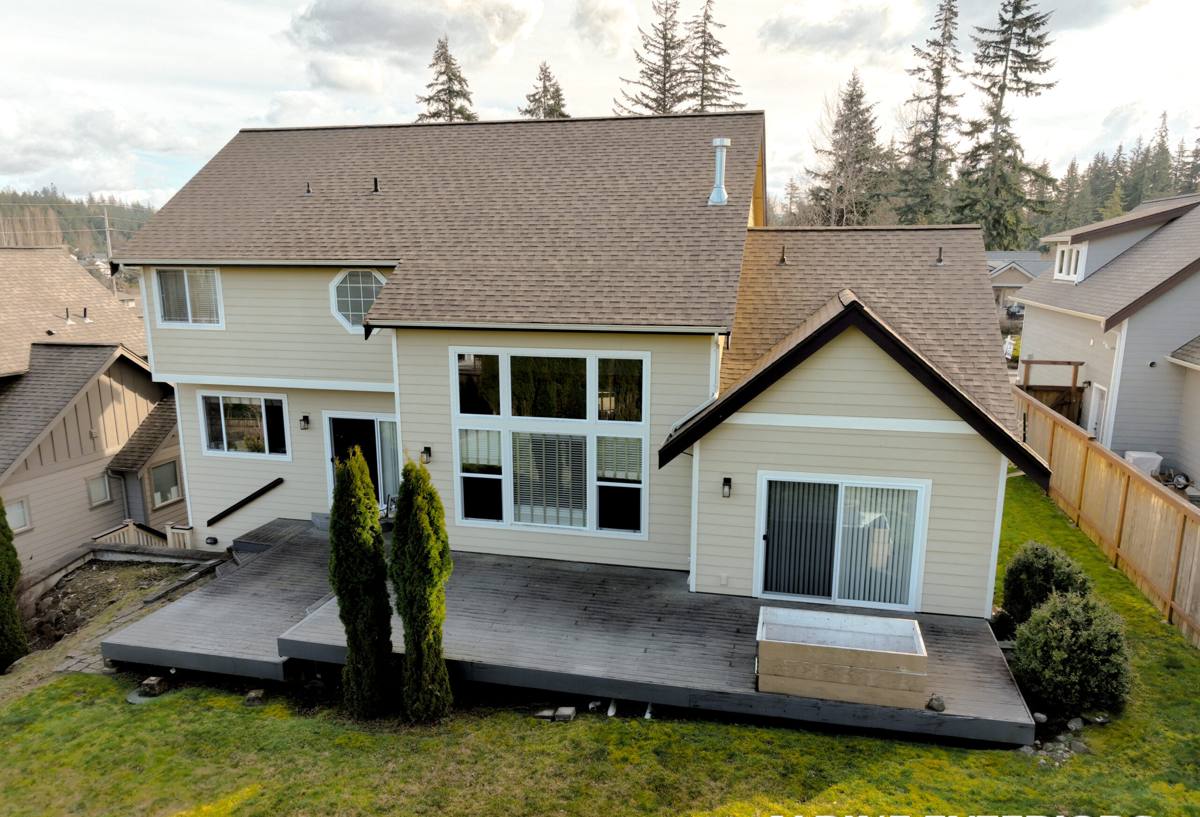
What Correct Siding Installation Actually Involves
A siding job that looks fine for the first year and then starts failing in year five almost always traces back to shortcuts made during installation, not a bad product. The material only performs as well as the wall assembly behind it.
The Water-Management Layer Comes First
Before a single piece of siding goes up, the wall needs a continuous weather-resistive barrier, properly lapped and taped at every seam, with flashing integrated at every window, door, deck ledger, and penetration. In a climate that gets sustained, wind-driven rain, this layer is what keeps incidental moisture from reaching the sheathing even when the siding itself gets wet — which it will.
An Air Gap Behind the Siding
A drainage gap (often called a rainscreen) between the water-resistive barrier and the back of the siding lets any moisture that does get past the cladding drain and dry out instead of sitting against the wall. This detail matters more in a marine climate like Bellingham's than almost anywhere else in the country, because the siding rarely gets a long enough dry stretch to fully evaporate trapped moisture on its own.
Fastening, Gapping, and Caulking to Spec
Fiber cement siding has specific fastener patterns, minimum gaps at butt joints and trim, and caulking requirements that differ from wood or vinyl. Installing it like a different material — over-driving nails, skipping gaps, caulking joints that should float — is one of the most common ways a correctly chosen product fails prematurely.
The Install Steps We Follow
- Inspect and repair sheathing before covering it — rot or soft spots get fixed, not buried
- Install a continuous weather-resistive barrier with properly lapped and sealed seams
- Flash every window, door, and penetration before the barrier is closed up around it
- Add a drainage gap behind the siding for backside ventilation and drying
- Fasten siding to the manufacturer's specified pattern and depth — not over-driven, not under-driven
- Leave correct gaps at butt joints, corners, and trim per manufacturer requirements
- Caulk only where the manufacturer calls for it, with a product rated for the exposure
- Final walk-through to check reveal consistency, fastener lines, and trim alignment
Why We Install Only James Hardie Fiber Cement
We don't install vinyl siding, LP SmartSide, primed spruce, cedar, Cemplank, or Allura. That's a deliberate standard, not an oversight. Each of those products has real strengths, but for this specific climate — the salt air, the sustained rain, the moss and moisture cycle — we've found that fiber cement from James Hardie holds up more consistently and with fewer callbacks than the alternatives, when it's installed correctly.
James Hardie is non-combustible, which matters for fire risk and for insurance in many markets. It doesn't swell, rot, or attract insects the way wood-based products can. The factory-applied ColorPlus finish is baked on under controlled conditions and backed by its own finish warranty, so you're not depending on field-applied paint to hold up against years of driving rain and salt exposure. And Hardie's HZ5 product line is engineered specifically for cold, wet climates like ours — it's built to resist moisture-related damage in the conditions Bellingham actually sees, not conditions from a warmer, drier region.
Vinyl can crack in cold snaps and fade unevenly over time, and it doesn't offer the same fire performance. Wood-based products like LP SmartSide and cedar look great new but carry a higher long-term maintenance burden in a climate this wet — moisture is the one thing they're most vulnerable to, and moisture is what this region has in abundance. We'd rather stand behind one product system we trust completely than offer several and let a homeowner unknowingly choose the one that struggles here.
Choosing the Right Hardie Product for a Bellingham Home
James Hardie makes several profiles, and the right one depends on your home's style and exposure, not just personal taste.
| Product | Best For | Local Consideration |
|---|---|---|
| HardiePlank lap siding | Traditional and craftsman-style homes | Most common choice; wide color range works well with PNW landscaping |
| HardiePanel vertical siding | Modern builds, accent walls, gable ends | Clean lines; pair with trim boards for a defined look |
| HardieShingle | Cottage or shingle-style homes | Popular in coastal Whatcom County neighborhoods for a textured look |
| HardieTrim | Corners, window and door casing, fascia | Matches siding profile for a finished, consistent envelope |
Color and sheen also matter more here than in drier climates. Darker, matte finishes can show water spotting and moss growth faster on shaded, north-facing elevations. We'll talk through which ColorPlus finishes tend to hold up best given your home's orientation and tree cover before you commit to a color.
Cost Factors for Siding Installation in This Area
| Factor | Why It Affects Cost |
|---|---|
| Existing siding removal and disposal | Tear-off adds labor and disposal cost versus building on new construction |
| Sheathing condition | Rot or moisture damage found during tear-off requires repair before new siding goes on |
| Home size and wall complexity | Dormers, multiple stories, and cut-up wall lines add labor time |
| Siding profile selected | Lap, panel, and shingle styles vary in material and install labor |
| Trim and detail work | Corner boards, window casing, and fascia work add to scope |
| Access and site conditions | Steep lots, limited access, or landscaping to protect can affect labor time |
We won't quote a number without seeing the home — anyone who does is guessing. What we can tell you is that the biggest cost swings usually come from what's discovered once old siding comes off, which is exactly why a careful tear-off and honest inspection matter more than a low bid.
Our Process, Start to Finish
We start with an on-site walkthrough of your home's exterior, looking at wall orientation, existing moisture or rot issues, trim condition, and anything specific to your lot — tree cover, wind exposure, proximity to the water. From there we put together a written estimate that spells out product, scope, and what's included.
Once you approve the work, we schedule around weather where we can — fiber cement installation goes best with a reasonable dry window, and in this climate that means planning around forecasts rather than just calendar dates. Tear-off, sheathing repair, weather barrier, and siding installation happen in sequence, with inspection points along the way rather than rushing straight through. We walk the finished job with you before calling it done, checking reveals, fastener lines, caulking, and trim.
Signs Your Bellingham Home Needs New Siding Now
- Visible moss or algae buildup that returns quickly after cleaning
- Soft or spongy spots when you press on the siding, especially near the bottom courses
- Paint or finish that's peeling, bubbling, or chalking heavily
- Warping, cupping, or separation at seams and butt joints
- Rising energy bills that suggest failing insulation or air sealing behind the siding
- Visible gaps, cracks, or missing caulk around windows and trim
- Interior signs like musty smells or staining near exterior walls
Any one of these on its own might be minor. Several together usually mean moisture has been getting behind the siding for a while, and it's worth having someone look at the wall assembly, not just the surface.
Why a Crew That Already Works This Area Matters
Siding installation isn't just about following a manufacturer's install guide — it's about understanding how a specific site behaves. A crew that already works Bellingham and Semiahmoo knows which elevations take the worst of the winter storms, how tree cover on a given street tends to hold moisture longer, and what details tend to fail first on homes exposed to salt air off the bay. That local pattern recognition shows up in small decisions — where to add extra flashing attention, which color finishes to steer a homeowner away from on a shaded wall, how to sequence a job around a wet forecast — that a crew unfamiliar with the region wouldn't think to make.
It also means accountability. We're not driving in from out of the area for one job and moving on. If something needs a look after the fact, we're local.
If your Bellingham or Semiahmoo home needs new siding, or you're just trying to figure out whether it's time, we're happy to take a look and walk you through what we see — no pressure, no obligation. Use the form below to request a free estimate.