 Semiahmoo
 Why Laurel Siding Takes a Beating
Homes in Laurel sit in one of the more punishing exposure zones in Whatcom County, even though the neighborhood isn't right on the water. Wind off Semiahmoo Bay and Drayton Harbor carries fine salt spray well inland, and that salt settles on siding, trim, and fasteners long before homeowners ever notice it. Add in the driving rain that comes off the Strait of Georgia most of the fall and winter, and you've got moisture working its way into every seam, joint, and nail hole on the exterior of the house.
Then there's moss. Whatcom County's damp, mild climate gives moss and algae a growing season that stretches most of the year, especially on north-facing walls, under eaves, and anywhere tree cover keeps a wall shaded and slow to dry. Moss doesn't just look bad — it holds moisture against the siding surface for weeks at a time, which is exactly the condition that causes rot, delamination, and paint failure underneath.
None of this means Laurel homes need constant repair. It means that when siding damage does show up, it's rarely isolated to what you can see from the driveway. A proper repair here has to account for what salt, rain, and moss have already been doing to the wall assembly, not just patch the visible spot.
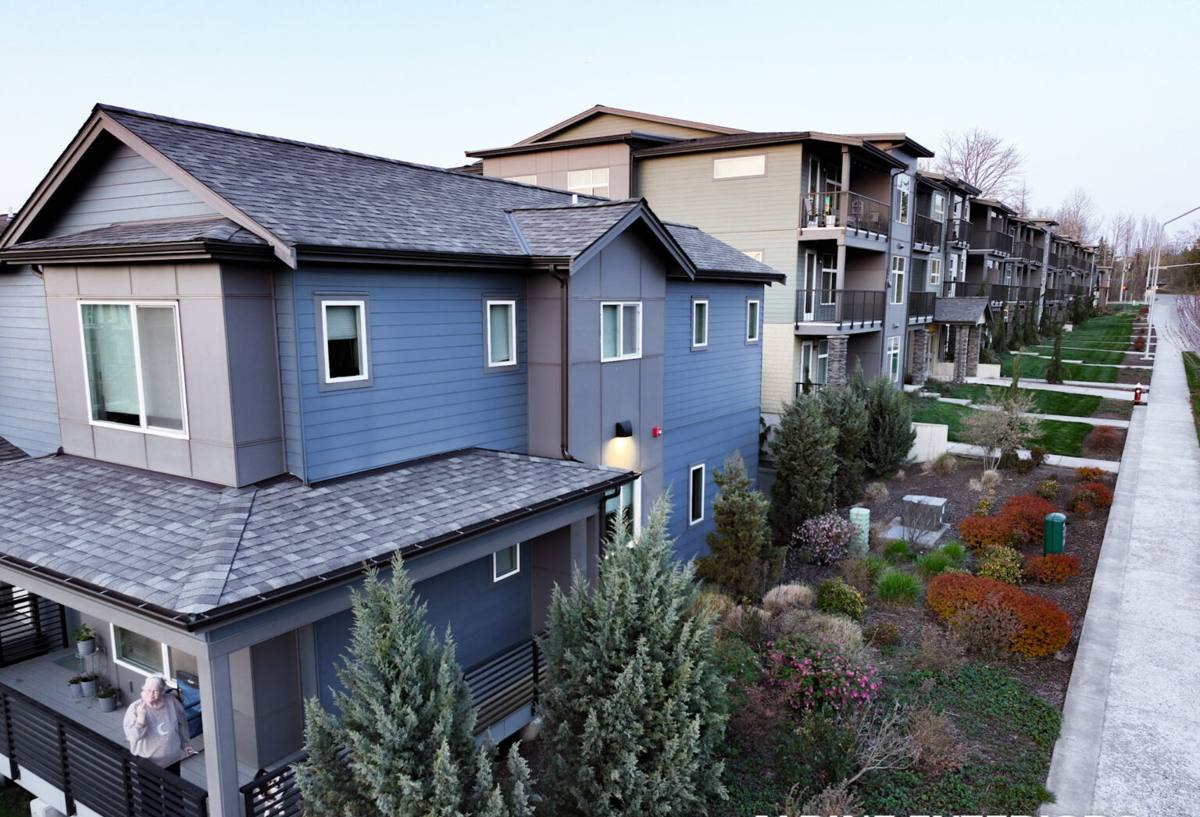
Signs Your Laurel Home Needs Siding Repair
Most siding problems give warning signs well before they turn into structural repairs. Walk your exterior a couple of times a year and look for:
- Cracked, bubbled, or peeling paint, especially on lower courses and around windows
- Soft or spongy spots when you press on the siding by hand
- Visible gaps or separation at butt joints, corners, or trim boards
- Moss or dark green-black staining that keeps returning after cleaning
- Streaking or discoloration below nail heads (often a sign of rusting fasteners)
- Warped, buckled, or bowed panels, particularly on walls that face prevailing wind and rain
- Interior clues — musty smell, peeling interior paint, or a damp patch on an exterior-facing wall
- Caulking that has shrunk, cracked, or pulled away from joints and window trim
Any one of these on its own might be minor. Several showing up on the same wall usually means water has been getting behind the siding for a while, and that's a different — and more urgent — kind of repair.
What a Correct Siding Repair Actually Involves
A repair that only addresses the surface is a repair you'll be paying for again in a few years. On Laurel homes, where the wall assembly is fighting salt air and driving rain constantly, doing it right means looking past the visible damage.
Checking What's Behind the Wall
Before we touch a single board, we pull back the damaged area and check the water-resistive barrier, flashing, and sheathing underneath. If moisture has already reached the wood framing or sheathing, patching the siding over it just traps the problem. We'd rather tell you that upfront than hand back a wall that looks fixed and isn't.
Flashing and Fasteners
A huge share of repeat siding failures trace back to bad flashing details or the wrong fasteners — not the siding material itself. In a salt-air environment, standard fasteners corrode faster than they should, which loosens boards and opens gaps for water. Correct repair work uses corrosion-resistant fasteners rated for coastal exposure and re-establishes proper flashing at windows, doors, and horizontal joints, not just a bead of caulk over the gap.
Matching Material and Finish
Patched-in siding that doesn't match butts up visually and, worse, can behave differently than the surrounding material — expanding, contracting, or absorbing moisture at a different rate. Getting the profile, exposure, and finish right is part of a repair that actually holds up, not just a cosmetic afterthought.
Repair or Replace? How We Make the Call
Not every problem area needs a full re-side, but not every problem should be patched either. Here's generally how we think through it:
| What We Find | Likely Approach | Why |
|---|---|---|
| Isolated impact damage, one or two boards, no hidden moisture | Targeted repair | Damage is contained and the wall assembly behind it is sound |
| Failed caulking and flashing at windows, siding otherwise intact | Detail repair | Fixing the water path stops the problem at the source |
| Soft, rotted sheathing found behind a section of siding | Repair plus sheathing replacement in that section | Patching over damaged sheathing just delays a bigger repair |
| Moss and moisture damage spread across an entire wall face | Full wall or full re-side | Isolated patches won't match and won't solve the underlying exposure problem |
| Siding material is discontinued or badly faded, patch would be visibly mismatched | Case-by-case — may recommend re-siding that elevation | A mismatched patch is a cosmetic problem you'll notice every day |
We'll always give you the honest read on which category your home falls into, with our reasoning, before we talk price.
Matching Existing Siding Without Making It Worse
This is where a lot of siding repair goes wrong, and it's worth explaining plainly. If your home already has James Hardie fiber cement siding with a factory ColorPlus finish, we can often source a matching profile and color for a clean patch — though ColorPlus is a baked-on finish applied in specific batches, so an exact match isn't always guaranteed, especially on older or sun-faded walls. We'll tell you honestly if a patch will be visible before we do the work, not after.
If your home has a different siding material — vinyl, LP SmartSide, cedar, or older primed wood — we can still assess and repair it, but we're upfront about the limits. We install James Hardie fiber cement exclusively, so if a repair area is significant enough that we'd be introducing new material, we'll recommend replacing that section (or elevation) with fiber cement rather than trying to match a product we don't install. It's not a sales pitch — it's because we've seen what happens when different siding materials are pieced together on the same wall: different expansion rates, different moisture behavior, and a seam that fails again within a few years. We'd rather tell you the honest trade-off than hand you a repair we don't believe in.
Our Siding Repair Process
- Inspection. We look at the visible damage and check behind it — flashing, fasteners, sheathing condition — not just the surface.
- Honest assessment. We tell you what we found, whether it's a contained repair or something bigger, and why.
- Written plan and price. No vague estimates — you'll know what's being repaired, with what materials, and why.
- Removal and prep. Damaged material comes out, the substrate gets checked and repaired if needed, and flashing gets corrected before anything new goes back on.
- Repair and finish. New siding, trim, fasteners, and sealant go in to match the surrounding wall as closely as the situation allows.
- Final walkthrough. We show you the completed work and explain what to keep an eye on going forward.
Why a Crew That Already Works in Laurel Matters
Siding repair done by a crew unfamiliar with Whatcom County's climate tends to under-address the moisture side of things — they'll fix what's visible and miss the flashing detail or fastener choice that caused it. A crew that's already worked on homes in and around Laurel knows which walls in this area tend to take the worst of the wind-driven rain, where moss builds up fastest, and what a salt-air-appropriate repair actually requires versus what gets away with less in a drier climate. That familiarity shows up in fewer callbacks and repairs that actually last through a few Pacific Northwest winters.
There's also a practical side: a local crew can get to your home for an inspection or follow-up faster than someone driving in from out of the area, which matters if water intrusion is active and time-sensitive.
What We Use When We Repair
Every material choice in a repair should match the exposure the wall actually sees. On Laurel homes, that generally means:
- James Hardie fiber cement panels, trim, and accessories for any material replacement
- Factory ColorPlus finish where an exact match is achievable, or a clean repaint plan where it isn't
- Corrosion-resistant fasteners suited to coastal salt-air exposure
- Sealants and flashing tapes rated for sustained wet-climate performance, not just interior-grade caulk
- Proper flashing details at every joint, window, and horizontal seam we open up
We don't cut corners on the parts you can't see after the job is done, because those are the parts that determine whether a repair holds for years or fails again in one wet season.
If you're seeing any of the warning signs above on your Laurel home — or you just want an honest opinion on whether a spot is worth repairing versus replacing — we're happy to take a look. Fill out the form below for a free, no-pressure estimate and we'll give you a straight answer.